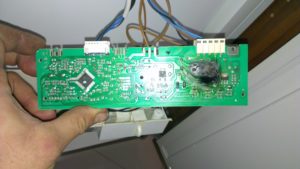
The article will discuss the disclosure of possible causes and solution of the problem that arose in the operation of the Ariston washing machine due to error F 09. The error indicates a failure of the control module, which is responsible for the selection of programs installed by the manufacturer. Below are the main points that will help you understand the causes of the breakdown and how to fix the F09 Ariston error.
Decoding the error
On washing machines that do not have a display, when this problem occurs, the lights start flashing as follows:
| Ariston margherita | Obsolete 2000 model. The error is indicated by a repetitive cycle - the on / off indicator blinks 9 times, a break at intervals of 10 seconds. and repeat. In this case, the selector knob will rotate clockwise with characteristic clicks. |
| AVL, AVTL, AVSL models | The error is displayed by flashing on the first upper and lower buttons, which are responsible for additional functions (mainly the buttons "Delay timer" and "Extra rinse".) And the indicator responsible for locking the door ("Key") will flicker more intensively. |
| Hotpoint-Ariston Low-End models (ARSL, ARXL, ARTL | The malfunction is indicated by the blinking first and fourth indicators (Door lock and "Spin"). Also, all indicators of additional functions (the entire horizontal row) may be constantly lit |
| Hotpoint-Ariston Aqualtis machines | Error F9 is indicated by flashing first and fourth temperature indicators (wash in cold water and 50 ° C). |
Step 1. Doing a reboot
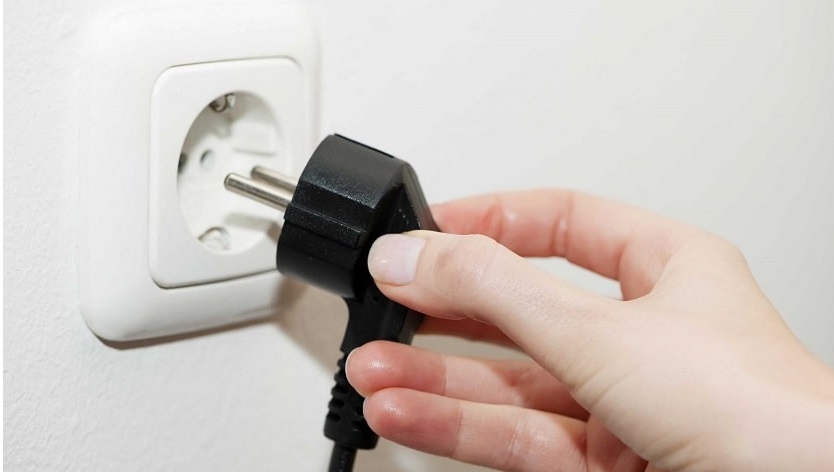
If the problem lies in the failure of the control or display module, just unplug the washing machine from the outlet, wait a few minutes and connect the device to the network. A simple reboot of the control module will occur, and the problem will be resolved by itself. Did not help? Checking the control module.
![]() See also - The washing machine washes longer than the prescribed time - what to do?
See also - The washing machine washes longer than the prescribed time - what to do?
Step 2. Checking the contacts of the control unit
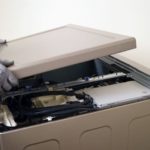
- Removing the top cover
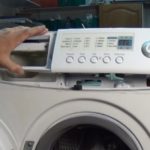
- Dismantle the front control panel.
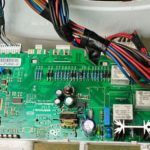
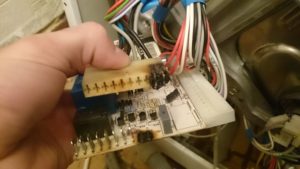
- We look visually all the contacts and connectors that connect the microcircuit to the control module. If the contact has gone somewhere, reinstall it.
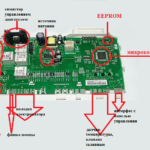
Step 3. Checking the stabilizer U1, power filter S1, capacitors
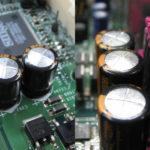
- Inspect all capacitors for swelling. In 90% of cases, this is the problem. Unsoldering and inserting a capacitor of the same size is not as difficult as it might seem.
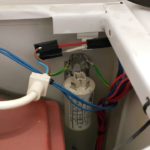
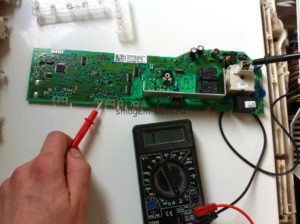
- Check the reliability of the connection, which leads to the S1 surge protector, as well as soldering, it is advisable to ring everything with a multimeter.
- We check the stabilizer U1, coil, capacitor, fuse, i.e. all elements that are responsible for supplying voltage.
Faults requiring complex repair
- Damage to the wiring. You need to find where the wiring is damaged, re-solder or replace the loops with new ones. On your own, with a multimeter, you can ring each loop and wire for integrity. If a break is found, replace it with a new one.
- Failure of the firmware (memory) of the control module - the master must reprogram the microcircuit.
- The display unit or one of the elements is broken. Each element is called, the faulty one is identified and replaced with a new one. Local repair is not always possible, then the fee changes completely.
- The control board is burnt out. Repairs are sometimes possible, but often replaced with a new one.
Outcome
Try the simple repair steps yourself. In case of complex repairs, you will need knowledge of electronics and a soldering iron with a multimeter. If you can't fix the problem yourself, contact any service center. The cost of such repairs varies from .
We hope our article helped you, support us with a comment or repost on the social network.
See also:

