A cooler bag is an autonomous device capable of helping out when you need to save products for a trip to nature, transfer purchases from a store or medicine that requires special conditions of detention. But what if the purchase of thermal capacity or an auto-refrigerator is too expensive? This article will show you how to quickly and inexpensively make your own cooler bag.
What materials do we need?
In order to make a portable cooler bag, let's briefly understand how it works and what we may need in the process of making a "hand made" thermal container.
It is not entirely correct to call portable cooler bags that way, because they do not produce cold. Such bags, in fact, are just thermoses, which maintain low temperatures for a certain time due to slow heat exchange with the environment.
Based on this, we determine what we need:
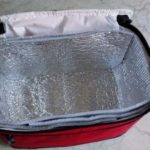
- the bag itself - it can be sewn or adapted ready-made, the main thing is that it has a dense and reliable zipper;
- thermal layer - for this in the store it is necessary to pick up a foil insulating material - foil insulation;
- fastening materials - metallized tape or furniture stapler.
Also, as an auxiliary source of cold, you can use special batteries - sealed containers with saline solution. Cold accumulators are pre-frozen, and then slowly thawed in a thermal bag, maintaining low temperatures inside for a while. Cold accumulators can be bought at the store or made with your own hands, we will also tell you about this.
![]() See also - No-frost or drip refrigerator - which is better?
See also - No-frost or drip refrigerator - which is better?
Making a hand-held cooler bag
Believe me, even if you are not at all friendly with a sewing machine or a needle and thread, it will not be difficult for you to sew a thermal bag. It will take you very little time for this process. But the result - a finished bag - will serve faithfully for a long time, reliably preserving food, drinks or medicine from the destructive effects of heat and heat.
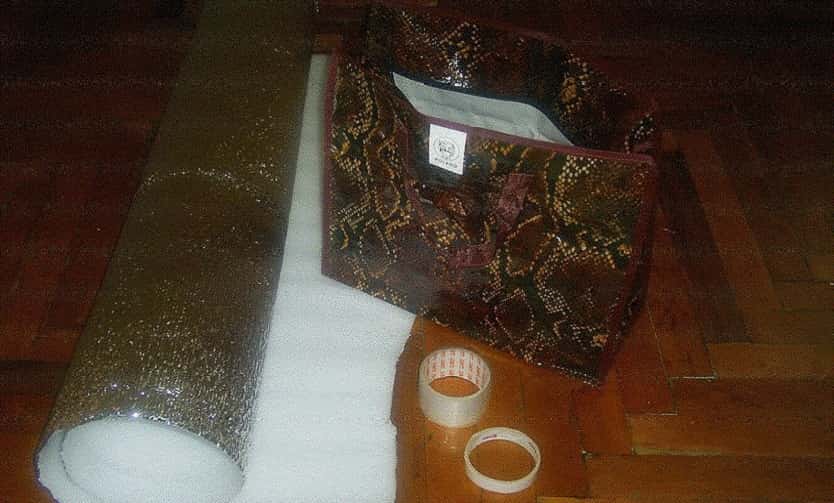
So, first you need to make a pattern - a piece of the inside of the bag. As a rule, sports or travel rectangular bags with a hinged lid and a zipper around the perimeter are taken as a basis. This option bag will be the most practical.
The pattern will look like a large cross, divided into sectors - according to the size of the bottom and side parts of the original bag. Don't forget to include the bag lid. Further, this scheme must be transferred to foil-insolone.Remember that the pattern made of foil insulation should be slightly smaller than the original pattern - so that the model of the container made of thermal material fits freely inside your bag.
Assemble the pattern from the thermal material, carefully gluing the joints with foil tape. If you can sew a zipper to your foil insulation container, such a cooler bag will be many times more effective. A tightly closing compartment is a guarantee of slow heating of the food inside.
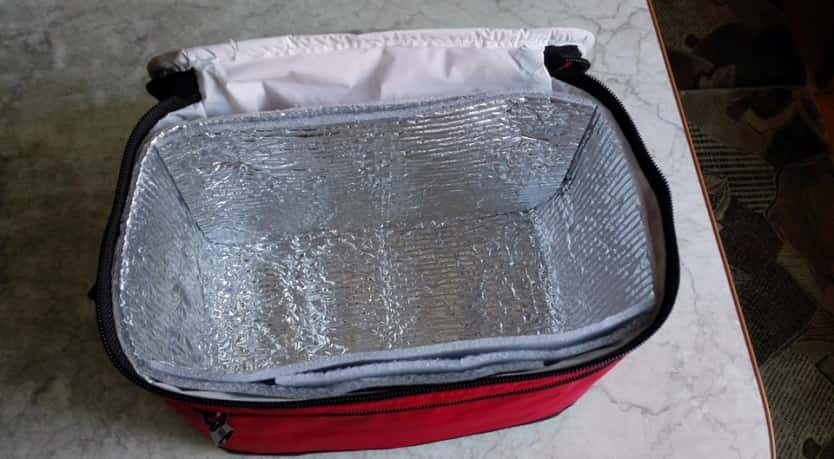
When the foil container is ready - insert it inside the original bag and fasten them together with double-sided tape or a stapler. That's all - the cooler bag is ready!
![]() See also - The nuances of choosing and installing a built-in refrigerator
See also - The nuances of choosing and installing a built-in refrigerator
Homemade car refrigerator
If a compact refrigerator bag is not enough, you can always make a roomy thermo container for transportation in the trunk of a car. Such a home-made chest will be able to help you out during a trip to the countryside with a big company, or during the holidays “savages”. Let's figure out how to make a refrigerator for a car out of foam plastic.
First of all, choose the right size plywood box. If possible, such a box is easy to assemble yourself. It’s good if the lid of the box is fastened with hinges, but if you don’t have one, don’t worry, any tight-fitting lid will do.
By and large, you can use a cardboard box, but a car refrigerator made of such a material will not turn out to be very durable.
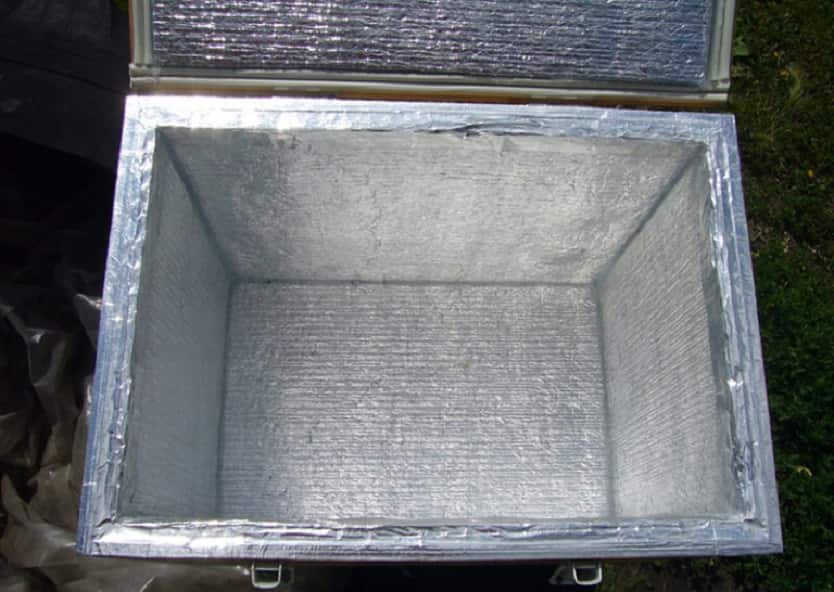
So, if you have selected a suitable box, then the next step will be the manufacture of foam insulating filling for him. It is necessary to glue or stick around all the inner surfaces of the box with foam. The thicker, the more reliable. Instead of tiny foam, you can use Penoplex. Use double-sided tape, acetone-free glue, or a furniture stapler for stapling. The inside of the lid should also not be ignored.
After this, it is necessary to carefully cover the inside of the box with foil isolone and attach insulation material, as well as carefully glue all the joints inside the future auto-refrigerator with tape.
In principle, the car refrigerator is ready. Do not forget to just attach the opening handle to the lid and cool the thermal container well before use. The better the assembly is done, the more hermetically sealed your car refrigerator, the longer it will be able to maintain a low temperature inside itself. Such a device is quite heavy, which is why it is best to carry it in the trunk of a car.
Homemade cold accumulators
We have already mentioned that cold accumulators are great helpers if you need to use a self-contained thermal container for storing food. If you are not ready to go to the store, then make a cold accumulator with your own hands at home.
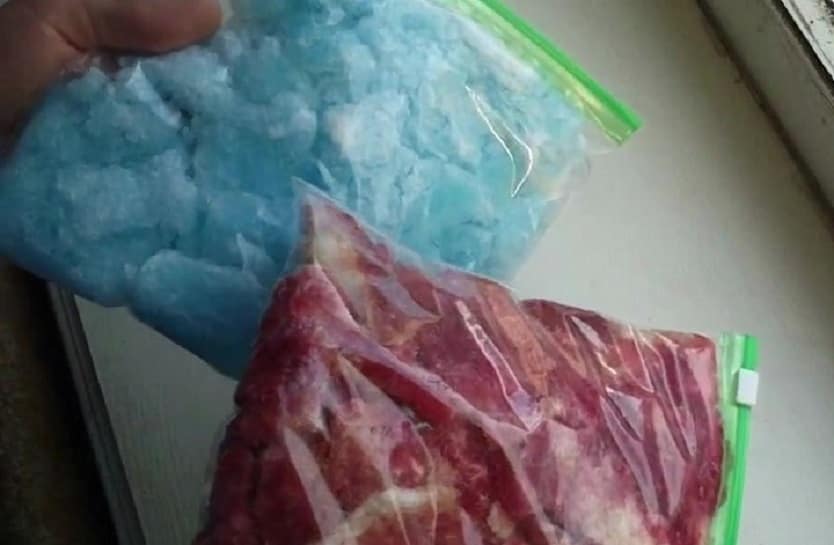
The store battery uses a special saline solution that defrosts much more slowly than ordinary water. Making it yourself is not difficult, just dissolve ordinary kitchen salt in the required amount of water and pour such a solution into suitable plastic bottles or vacuum bags with a Zip Lock fastener. Filled bags or bottles should be frozen - then they will help maintain a low temperature inside the container.
There are also helium cold accumulators. They cost much more than their liquid counterparts, but they thaw several times slower. If you want to make such a cold accumulator, then buy several large diapers for children in the pharmacy. Gently and slowly pour normal tap water into the diapers, about a glass. Wait a bit - let the granules absorb the moisture. After that, tear the inside of the diaper and pour the wet granules into a sealed bag.
Cold batteries should be pre-frozen.And when putting food inside the refrigerator bag - do not forget to shift the layers of food with cold accumulators.
Useful Tips
So, if everything is clear, then you can start making a cooler bag. But finally, we want to share some useful tips that will make the process of manufacturing a thermal bag easier for you and increase the efficiency of using such a device.
- Thermal layer thickness - the more the better. When you come to the hardware store, buy foil insulation from 0.5-0.8 cm, and foam - from 2-3 cm.
- You can buy folgoizolon in a large hardware store, and the price for it will absolutely not hit your pocket. Material consumption - from 1 - 1.5 m.
- It is better to choose a bag for a portable refrigerator from dense, water-repellent materials that are highly durable and at the same time can be easily washed from dirt.
- Make sure that the handles and pockets are tightly sewn on, and the fasteners close the thermo bag tightly. In good production models, the outer zipper is covered with a special Velcro flap - to reduce heat transfer.
- For the convenience of using a car refrigerator, a cover with handles can be sewn onto a plywood box. Do not forget to put pieces of padding polyester, a cut blanket or any other insulation between the plywood and the cover - this way, you will protect the contents of the thermal container from rapid heating.
- It is better to transport any thermal container in a large bag with other things or in the trunk of a car. Do not expose your portable refrigerator to direct sunlight and try to open it as little as possible.
- When thawing frozen cold storage accumulators that you have made yourself, condensation may occur - take this into account and take care that moisture does not spoil the food. For example, wrap everything in separate newspaper sheets.
- When loading food into a freestanding refrigerator, remember that there should be as few gaps and voids inside the thermal container as possible. Do not forget to transfer food with cold accumulators or regular ice packs.
With proper manufacture, care and following our simple recommendations, your thermal bag or auto-refrigerator will pleasantly surprise you with its efficiency, reliability and durability. At the same time, it is nice to know that you were able to save a tidy sum, because in the store such a purchase will cost a significant amount. You can make several thermal containers of different sizes - small boxes for individual snacks at school, in the office or at training, travel bags for 4-5 liters for purchases or modest picnics, roomy backpacks from 10 liters for large companies and impressive blanks, etc. ... Now, knowing how to make a cooler bag with your own hands, it will not be difficult for you!
See also:
- 7 best Bosch refrigerators according to customer reviews
- 8 Best Samsung Refrigerators According to Buyers
- 9 Best Inexpensive Refrigerators According to Buyers
- 10 best LG refrigerators according to customer reviews